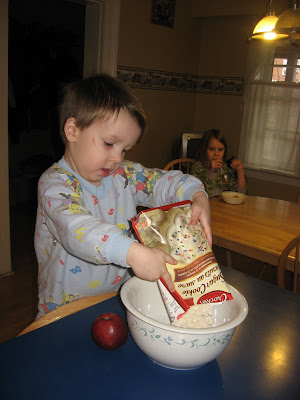
10:00am this morning...
Hey, at least it's not snow, right? A day like this calls for some "Rainy Day Cookies"!
Source: Family Fun Magazine, April 2008.
Make sugar cookie dough - homemade or a store mix.


Roll out the dough.
Use cups/glasses to cut circles out of the dough
Cut each circle in half

And then use your fingers to create a scalloped edge along the flat edge of each half.
When you get down to the end of the dough cut out raindrop shapes. Or just form them with your hands.
Bake the cookies according to directions. We did ours for 8 mins at 375F

Cool completely.
Assemble your icing (storebought or homemade) and food colouring to tint icing to desired colours. I got this icing for free this week. It was on sale at Walmart for $1.00 and I had this coupon!
Divide icing into various bowls
And add food colourings
We chose purple, black, red and yellow.
Ice your cookies!
For a more decorative look, pipe horizontal lines of white icing across the cookie
And drag a toothpick vertically through it, from one end to the other, across the cookie.
Now, the recipe I was going from used lollipop sticks found in craft stores, to make these into "cookie lollipops". I didn't have any of those sticks.
The next step is to get some bendable straws
Cut them down so you still have the "bendy" part, and fold it over so it makes a "J shape"
If you did use the lollipop sticks, you would slide the straw over the stick. In our case I just tucked the end of the straw in behind the cookie, just to make it look cute.
And by the time we were done, the rain was done too!


0 comments:
Post a Comment